As an Orlando professional photographer, you'll begin by scouting places-- evaluating sunlight alignment, light, and website accessibility. Next, prep your equipment, dial in camera settings, and straighten lighting modifiers. Team up with customers to sync vision and style, then adjust shooting methods on site for lights and structure. Afterward, handle electronic documents with organized naming and folders. Select archival-grade printing products and calibrate for perfect color and sharpness. Your process guarantees seamless distribution-- maintain opting for understandings into each step.
Scouting the Ideal Orlando Location
While Orlando offers a varied array of backgrounds, picking one of the most suitable place needs careful examination of environmental factors, lighting conditions, and logistical availability. You should analyze the website's positioning relative to the sun, recognizing prospective sources of harsh darkness or dynamic array challenges.
Evaluate whether all-natural or artificial lights will control, and keep in mind any kind of reflective surface areas that might introduce unwanted glare. Climate considerations are important; Orlando's subtropical environment presents abrupt rain showers and high humidity, both of which can influence equipment performance and subject comfort.
Analyze seasonal light high quality and golden hour timing for perfect results. In addition, you'll require to examine parking availability, accessibility to source of power, and distance to amenities.
Conduct a site check out to record referral photos and complete your area decision.
Preparing Equipment and Establishing Up
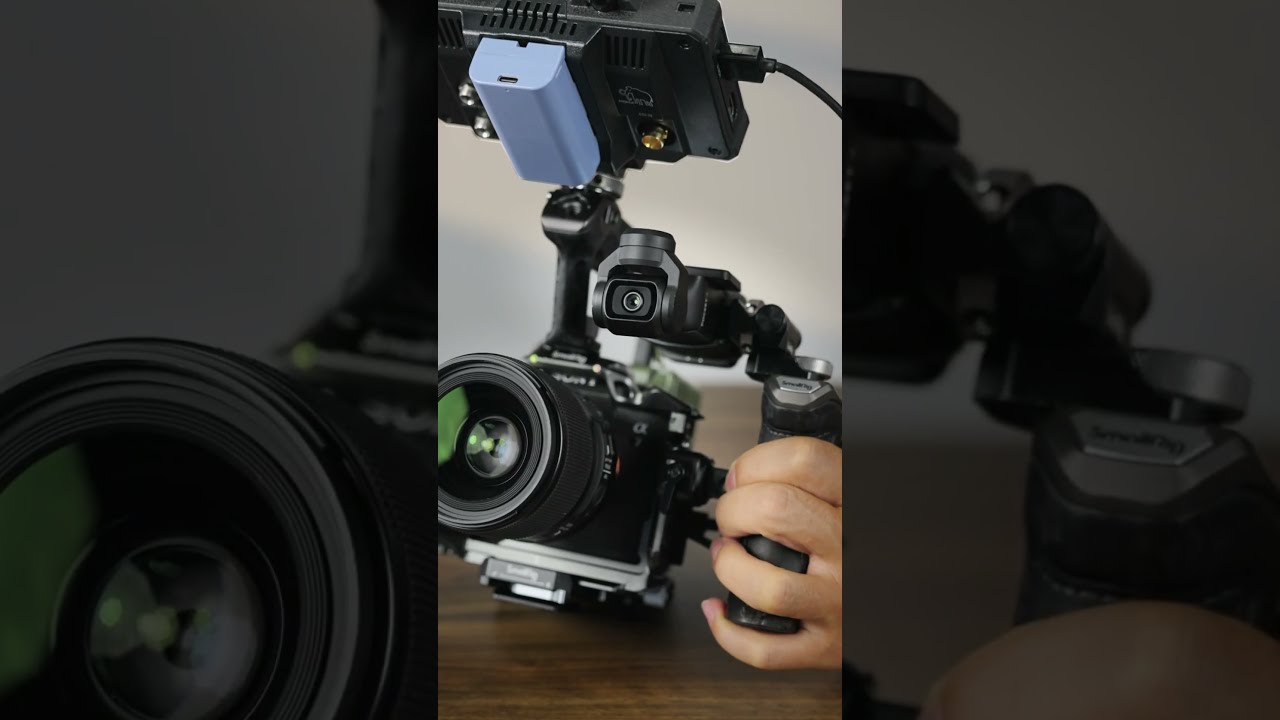
Before the shoot, you'll need to carefully set up and examine your equipment to ensure functional dependability on-site. Double-check that each electronic camera body, lens, and flash is clean and fully useful. Verify your batteries are billed, and sd card formatted for excellent workflow.
Methodically set up and examine all gear, guaranteeing electronic cameras, lenses, and flashes are clean, practical, and prepared for seamless on-site performance.Assess your illumination setup by reviewing modifiers, stands, and causing tools, making certain compatibility and back-up options. As soon as on area, quickly construct light stands and position modifiers to regulate ambient and fabricated illumination.
Adjust your camera setups-- aperture, ISO, shutter rate-- based on environmental problems and wanted innovative outcome. Make use of a light meter or pie chart analyses to tweak exposure.
Secure wires, examination cordless triggers, and validate all equipment interacts as intended. This systematic approach ensures performance and reduces technical obstacles throughout your Orlando shoot.
Collaborating With Customers for Vision and Style
With devices adjusted and lighting secured, your following priority is aligning innovative intent with customer assumptions. Efficient customer interaction ensures you analyze their vision accurately, reducing the threat of misalignment.
Schedule a pre-shoot consultation to go over state of mind boards, shade palettes, and preferred appearances. Usage targeted inquiries to make clear assumptions and draw out particular preferences.
Offer design guidance by providing curated portfolios or lookbooks, enabling customers to identify desired tones, structures, or post-processing strategies. File all stylistic choices in a succinct job quick for recommendation during production and post-processing.
Maintain open lines of interaction throughout the process, verifying adjustments in real time. This joint operations assurances your final images not just fulfill technological standards however also personify your customer's intended narrative and style.
Capturing the Perfect Shot on Location
Once you've arrived on area, examine the setting to identify key elements such as natural light instructions, ambient color temperature, and potential compositional anchors.
Employ technological lighting methods to either enhance or respond to existing problems. Factor in weather considerations, as moving cloud cover or unexpected rainfall can modify both exposure and mood.
Adapt your lighting method on place, making up weather condition shifts that can substantially affect direct exposure and the scene's total mood.Maintain flexibility in your process, adjusting cam settings and lens selections for ideal intensity and color fidelity.
Evaluate Lighting: Assess sunlight placement, usage reflectors or diffusers, and adjust white equilibrium for precise color rendition. Monitor Weather: Track real-time problems utilizing mobile apps; have rainfall covers and lens hoods ready. Scout Angles: Recognize leading lines, foreground rate of interest, and adverse room for compelling composition. Configure Equipment: Select ideal focal sizes, aperture setups, and stabilization equipment to make certain technical excellence.Importing and Organizing Digital Files
You need to carry out efficient documents calling conventions and a sensible folder framework to improve your post-production workflow.
Consistent metadata and hierarchical organization prevent redundancy and streamline asset retrieval.
Adopting these techniques guarantees data conservation and ensures seamless job management.

Efficient Submit Naming Conventions
Although digital property monitoring devices offer durable functions, effective data calling conventions continue to be vital for professional photographers to preserve organized archives and streamline post-production process. You'll minimize the risk of file duplication and boost searchability, particularly when incorporating metadata monitoring and key phrase tagging. A well-structured naming system ensures consistent recommendation factors throughout editing and enhancing, sharing, and storage space processes.
Here are four ideal practices for file calling conventions:
Use a constant day format: Begin filenames with YYYYMMDD for sequential sorting. Include shoot or client identifiers: Include distinct codes or names to identify projects. Incorporate sequence numbers: Stay clear of overwriting by appending four-digit numbers (e.g., 0001, 0002). Avoid special characters: Stick to highlights or hyphens for compatibility throughout systems.Implementing these conventions improves your workflow efficiency.
Folder Framework Strategies
Building on a strong file naming system, an organized folder framework even more enhances electronic process for photographers. You should develop an ordered folder system-- normally by year, customer, and project-- to enhance situating and archiving images.

Within each task, different RAW data, modified exports, and deliverables. This logical plan enhances metadata management, allowing software application like Lightroom or Capture One to check out and create metadata efficiently at both the folder and file level.
Consistent folder frameworks additionally help with backup methods; you can automate step-by-step back-ups or mirror entire task folders to outside drives or cloud storage. When importing documents, always maintain initial capture folders and stay clear of relabeling them during the transfer procedure. This lessens the risk of lost information and assurances smooth assimilation into your broader digital property monitoring system.
Editing and Enhancing Photographs
When refining photo images, editing and enhancing and boosting are necessary actions that elevate raw captures into professional-grade visuals. You'll utilize industry-standard software to apply accurate modifications that enhance every frame.
Prioritize technical accuracy to guarantee your photos satisfy or exceed client expectations. Focus on these 4 essential steps for efficient post-production:
Color Correction: Balance white point, change temperature, and adjust shades to achieve accurate and regular shade throughout your series. Exposure Adjustment: Fine-tune highlights, darkness, and midtones to make the most of dynamic variety and information retention. Retouching Techniques: Usage regularity splitting up, duplicate marking, and healing brushes to eliminate acnes or disturbances while protecting natural textures. Sharpening and Sound Reduction: Apply discerning developing and minimize unwanted noise to improve clearness while maintaining picture integrity.Choosing the Right Printing Materials
Once you've perfected your digital documents, picking the appropriate printing products determines just how your photos are eventually perceived. You must examine paper appearances, ink types, and substrate weight to make certain excellent tonal range, shade integrity, and archival security. Matte, glossy, and appeal paper appearances each communicate in different ways with pigment and color ink kinds, influencing intensity, contrast, and vibrancy. Choosing between pigment-based and dye-based inks impacts longevity and saturation.
Paper Texture Ink Type Print Characteristic Matte Pigment Subdued, archival Glossy Dye Vibrant, high contrast Luster Pigment Balanced, durableYou'll require to match your subject, intended display screen atmosphere, and customer choice hire an Orlando photographer with the technical properties of these materials. Very carefully adjust your options to boost your photographic vision and deliver professional-grade results.
Presenting the Final Print to Clients
Although the print's technical implementation is vital, delivering it to customers calls for similarly rigorous focus to presentation requirements. You have to guarantee that your print top quality equates seamlessly from electronic documents to physical product, showing your experience and interest to detail.
Exceptional print quality indicates absolutely nothing without flawless discussion-- guarantee your job excites from digital file to final, substantial product.The last handoff isn't practically the image itself, yet how it's showcased and safeguarded. Take into consideration these essential actions to maximize customer experience:
Inspect print top quality-- Check for shade accuracy, surface flaws, and appropriate resolution before packaging.Select ideal mounting alternatives-- Present a selection of archival-grade frameworks and floor coverings tailored to your customer's visual preferences.Utilize safety product packaging-- Employ acid-free tissue, stiff corners, and weather-resistant wrapping.Provide care directions-- Educate customers regarding dealing with, display screen, and maintenance to protect longevity.